Thunderstorm
Summon a localized storm to strike the enemy boulder with lightning, causing instant damage.

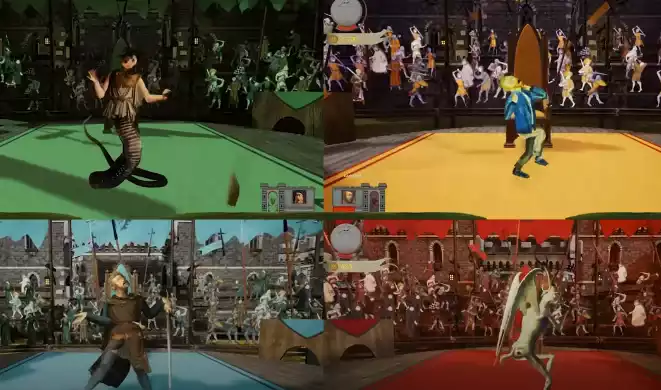
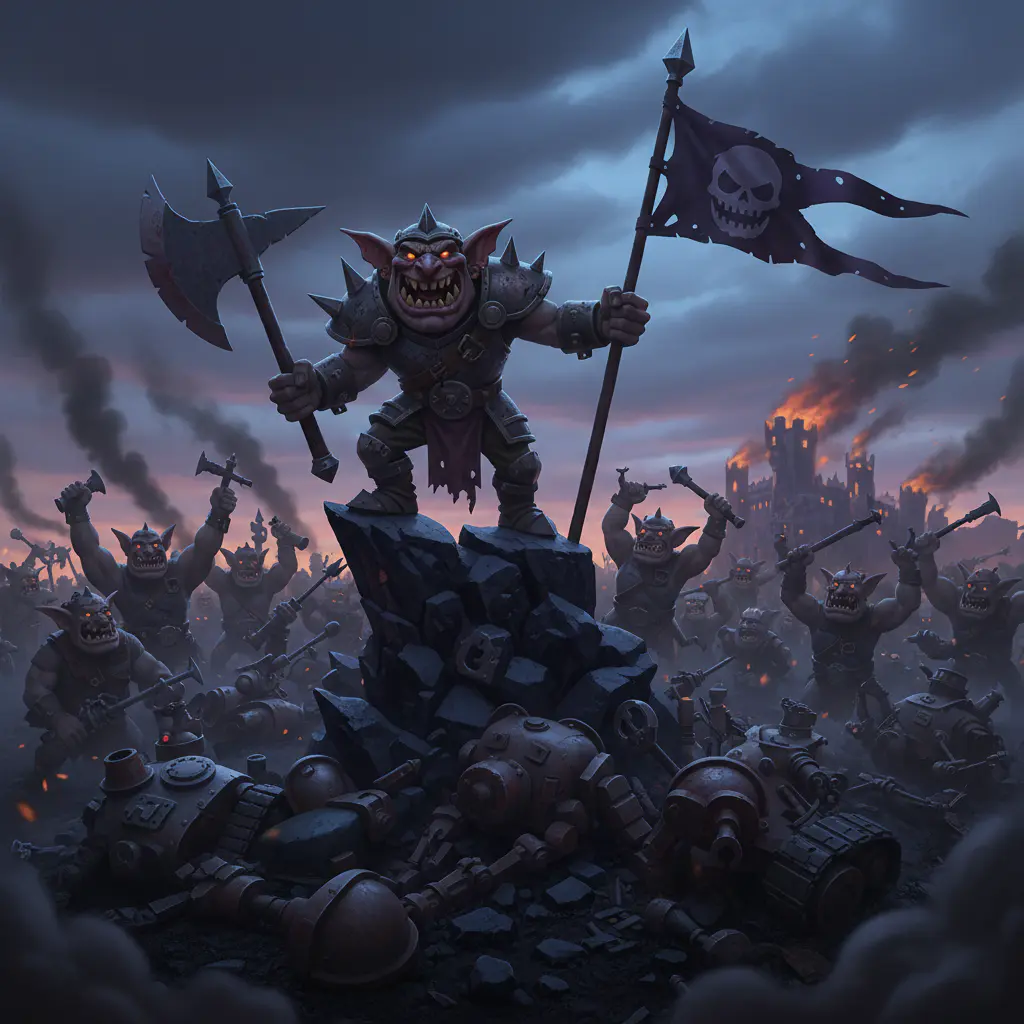
Welcome to the most chaotic collection of rolling stones and defensive measures in history. In Rock of Ages 2: Bigger & Boulder, your strategic choices determine whether you crush the enemy or crumble into pebbles.
Rock of Ages 2 reinvents the traditional **tower defence** genre by smashing it together with high-speed arcade racing. It's not just about placing static units; it's about anticipating the unpredictable physics of a giant boulder hurtling towards your castle gates.
Whether you are deploying historically inaccurate artillery or setting up sticky cows to slow down your opponent, every unit serves a vital role in protecting your fortress. The best offense is a heavy rock, but the best defense is a chaotic obstacle course.
From classic granite to explosive gunpowder, each boulder offers unique handling and destructive capabilities.

Volatile and dangerous. Deals massive area damage upon impact but is fragile during the roll.

Blessed with wings, this boulder can double jump over obstacles and enemy defenses.
A square rock. It doesn't roll well, but it hits incredibly hard if you can manage the physics.
The backbone of any good defense. Ballista towers launch massive bolts at oncoming enemy boulders, steadily chipping away at their armor and momentum with precision. Place them on elevated terrain or near narrow passages for maximum range and effectiveness. While a single tower may not be enough to stop a determined foe, a well-placed cluster of ballista towers can easily turn a solid rock into rubble before it reaches your gates.
Ballista towers can be upgraded for greater rate of fire or increased armor penetration. Timing your volleys is crucial, as a coordinated barrage can even knock lighter boulders off course, sending them tumbling into traps or off the map entirely. Master their placement for an impenetrable first line of defense!
"Precision engineering meets medieval fury."
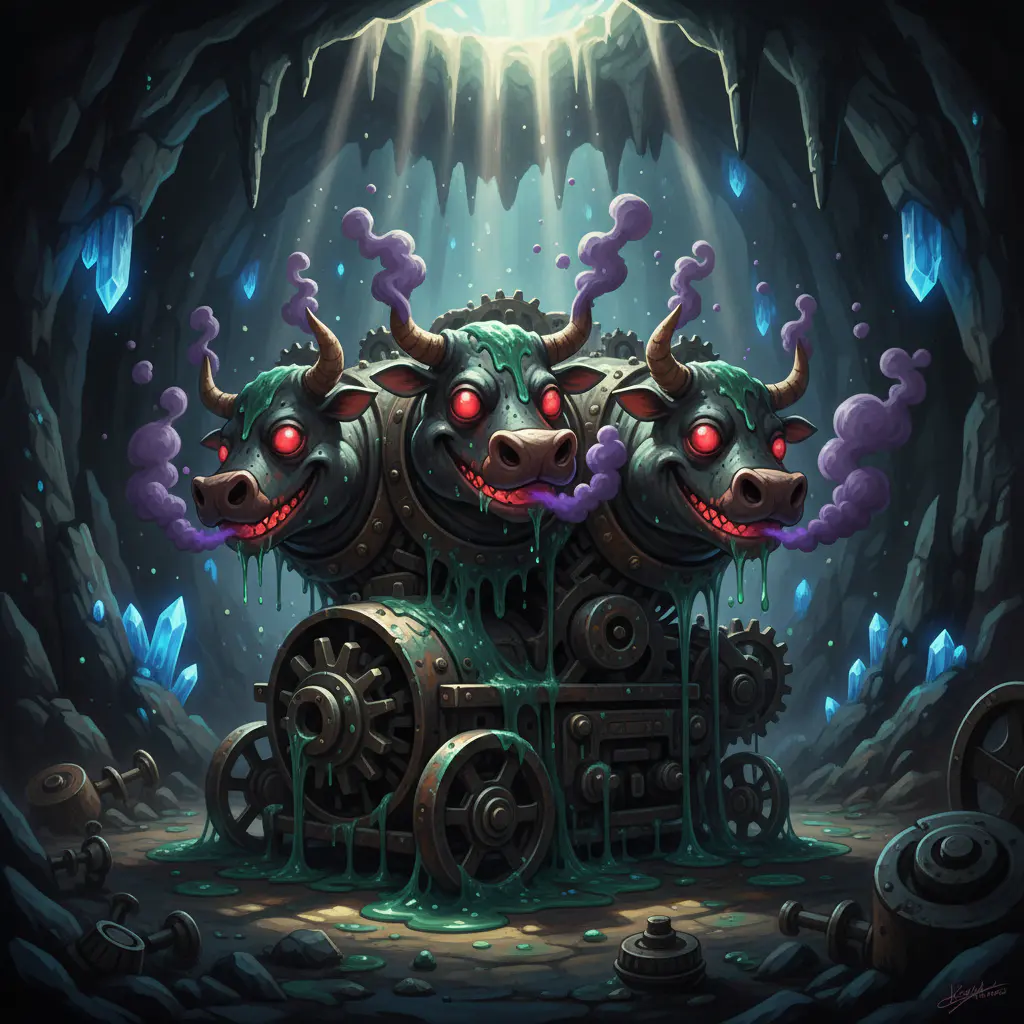
Nothing stops a 20-ton boulder quite like a herd of adhesive bovines. These units stick to the enemy rock,
rotating with it and significantly slowing its momentum. It is absurd, it is messy, and it is incredibly
effective for ruining your opponent's time trial.
Once a sticky cow latches on, the boulder’s movements become awkward and unpredictable, making it
difficult to maintain a direct course toward the enemy gate.
Skilled defenders will position these units on slopes and tight curves, maximizing the disruption to the
attacker’s speed and control.
In addition to their main effect, sticky cows can absorb a portion of damage, forcing your opponent to
waste precious seconds shaking them loose or risk rolling with a herd of bovine passengers.
Mastering the placement and timing of sticky cows is essential for players who want to keep the upper hand
in critical defensive moments.
"Udderly frustrating for the enemy."
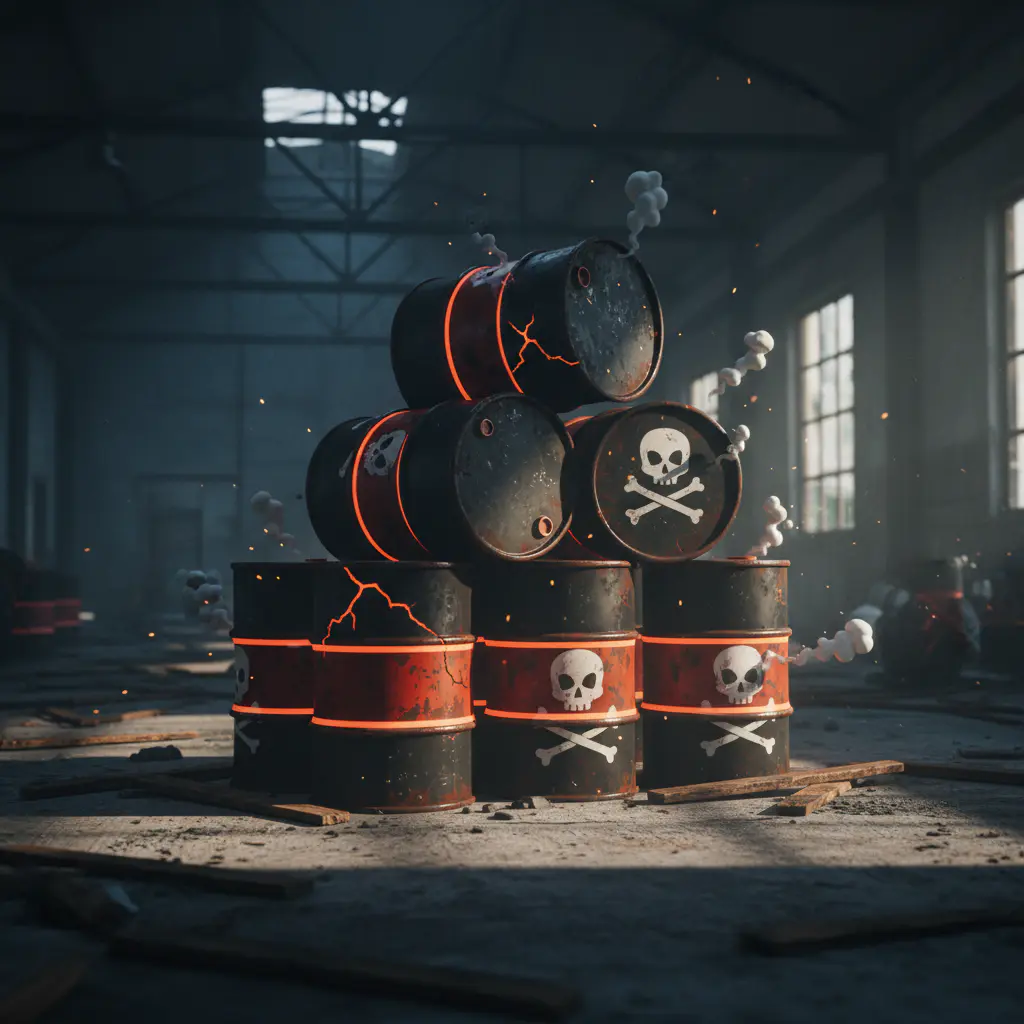
Simple, cheap, and loud. Explosive barrels are perfect for mining narrow choke points. When an enemy
boulder makes contact, the blast can knock them off course—potentially sending them off a cliff edge and
forcing a reset.
Their appeal lies in both the chaos and cost-efficiency: you can scatter dozens along important attack
routes, overwhelming even the most careful opponents. A well-timed detonation not only damages the boulder
but can also scatter pieces of armor or debris, creating additional hazards for future attackers.
Upgrading your barrels amplifies the size of each explosion, increasing their area of effect and their
disruption potential. Place in clusters for chain reactions or hide them among other obstacles to surprise
the enemy. Strategic placement and timing of explosive barrels often mean the difference between a
successful defense and a breached gate.
"Boom goes the dynamite strategy."
Summon a localized storm to strike the enemy boulder with lightning, causing instant damage.
Launch units (or enemies) into the air. Perfect for trap setups near cliffs.
A delayed explosive that requires precise timing to maximize impact against fast movers.
A heavy obstacle that generates gold over time but blocks the path effectively.

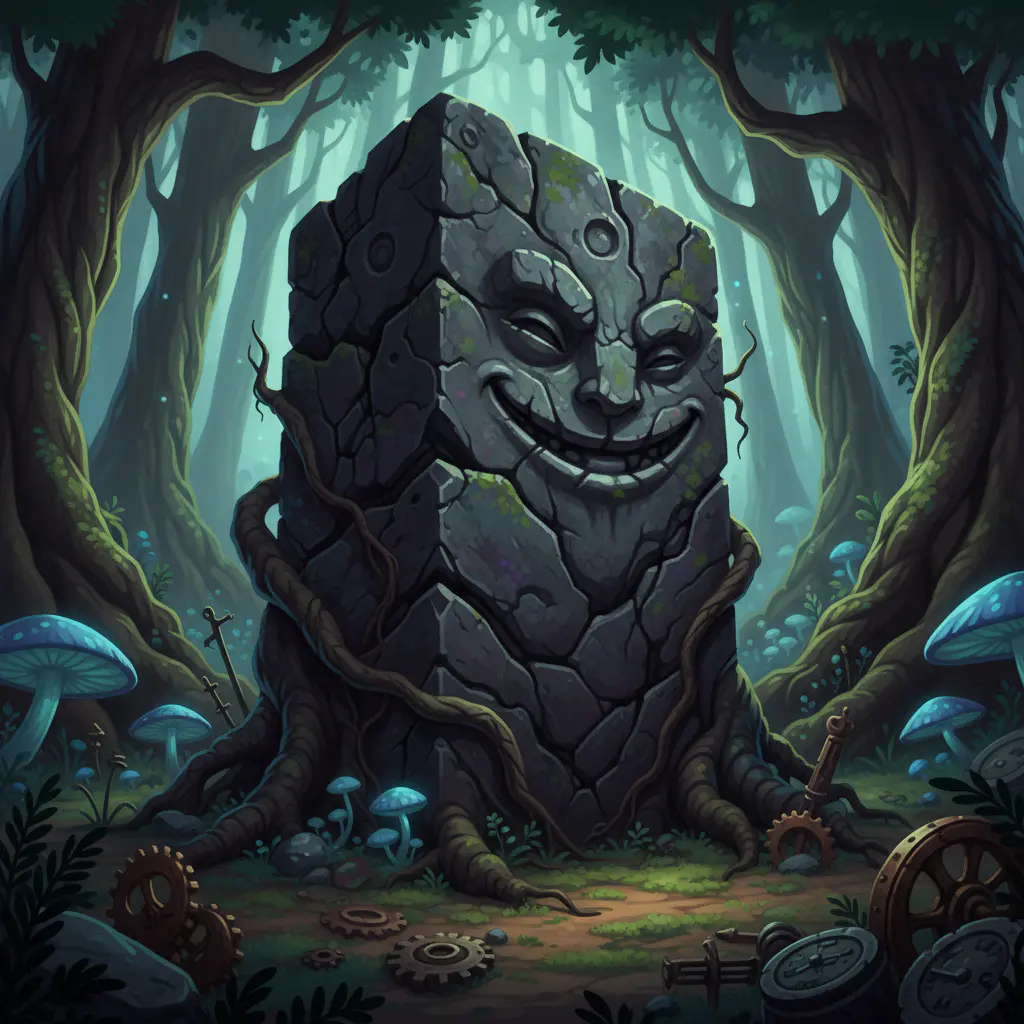
As you progress through the campaign, your arsenal evolves. The defensive units change visually to match the era—from Early Renaissance to Surrealism—but their chaotic function remains the same.
Battle against famous figures from art and history, each deploying their own thematic defenses. Have you ever wanted to crush a cardboard cutout of Napoleon with a giant sphere of magma? Now is your chance.
Explore Campaign MapKnow your rolling stones. Heavier isn't always better.
| Boulder Type | Speed | Damage | Durability | Special Trait |
|---|---|---|---|---|
| Rock of Ages |
|
|
|
Balanced Standard |
| Prehistoric Wheel |
|
|
|
Fast Acceleration |
| Globe |
|
|
|
Lightweight |
| Armored Boulder |
|
|
|
Maximum Defense |
Don't just place units randomly. Build choke points on narrow paths and place explosives near cliff edges to maximize their potential.
A Sticky Cow slows them down; a Catapult hits them while they are slow. Synergy is key to destroying enemy boulders before they reach your gate.
Heavier units cost more gold. Balance your economy between mining banks and military spending.
The battlefield awaits. Select your boulder, build your defenses, and crush your way through history.